Answer
Jul 18, 2024 - 06:39 AM
VOLTAGE (MAX):250V
WATTAGE (MAX):660W
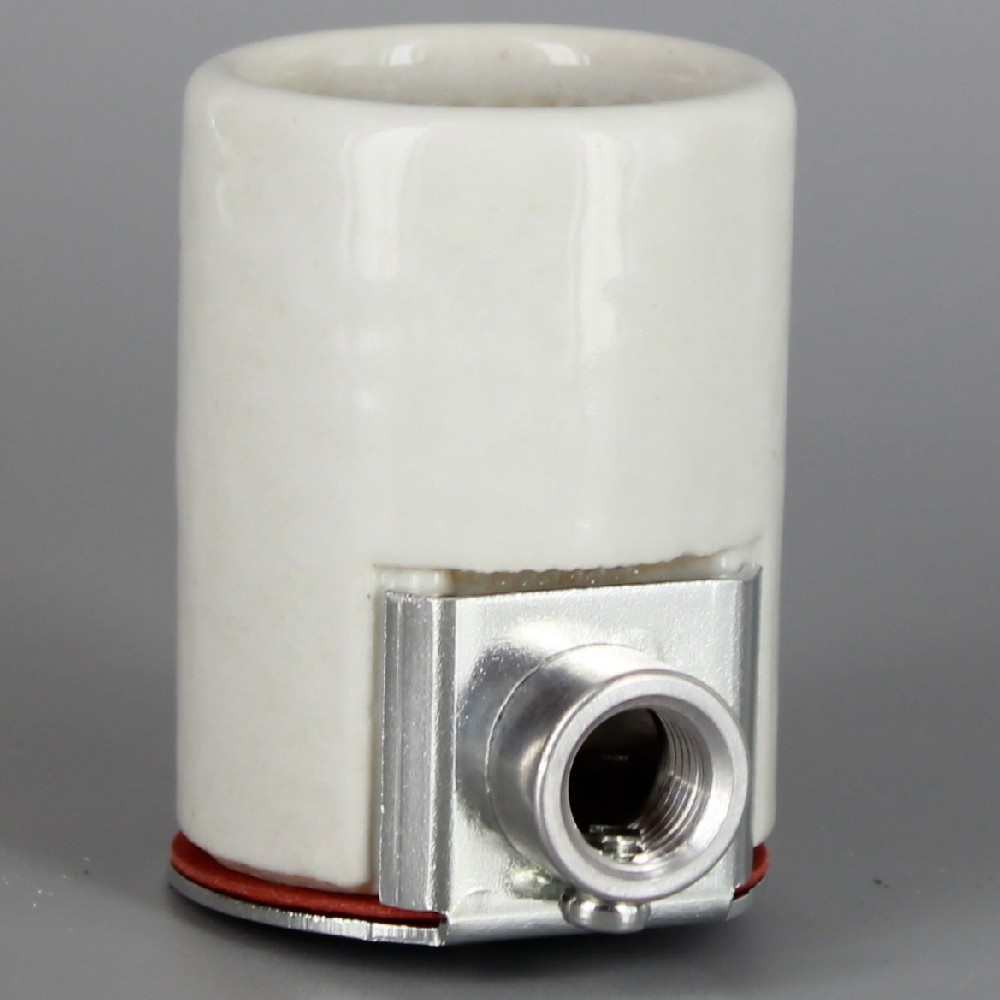
For better assistance with your specific application, please contact Sales@grandbrass.com and one of our lighting experts can assist you however, this is a simple screw terminal socket and should be very easy to wire.

Steps:
Safety First: Ensure the power to the circuit where you are working is turned off at the breaker panel or fuse box. Use a voltage tester to confirm there is no electricity flowing to the socket.
Prepare the Wires: If the wires are not already prepared (stripped of insulation at the ends), use wire cutters/strippers to expose about 1/2 inch (12 mm) of bare wire at each end of the wires you'll be connecting.
Identify Terminals: On the screw terminal socket, identify the terminals. There will typically be two terminals: one for the live/hot wire (usually labeled with an "L" or "+" symbol) and one for the neutral wire (often labeled with an "N" or "-" symbol).
Insert Wires: Insert the stripped end of the live/hot wire into the terminal marked for live/hot. Make sure the bare wire is securely inserted under the screw terminal.
Tighten Screws: Use a screwdriver to tighten the screw terminal securely. Ensure the wire is held firmly in place but avoid over-tightening, which could damage the wire or terminal.
Repeat for Neutral Wire: Insert the stripped end of the neutral wire into the terminal marked for neutral. Again, ensure the bare wire is securely under the screw terminal and tighten the screw.
Double-Check Connections: After securing both wires, double-check that neither wire is loose and that no bare wires are exposed outside the terminal area.
Secure Socket: Depending on the socket design, you may need to secure it to a fixture or electrical box using provided screws or mounting brackets.
Test Installation: Once everything is securely connected and the socket is properly mounted, restore power to the circuit and test the socket using a lamp or other electrical device to ensure it functions correctly.
Safety Checks: Perform final checks to ensure all connections are secure and there are no exposed wires or hazards.
Additional Tips:
Always follow local electrical codes and manufacturer instructions for specific details regarding your socket and wiring requirements.
If you are unsure or uncomfortable with electrical work, consider consulting a qualified electrician for assistance.
WATTAGE (MAX):660W
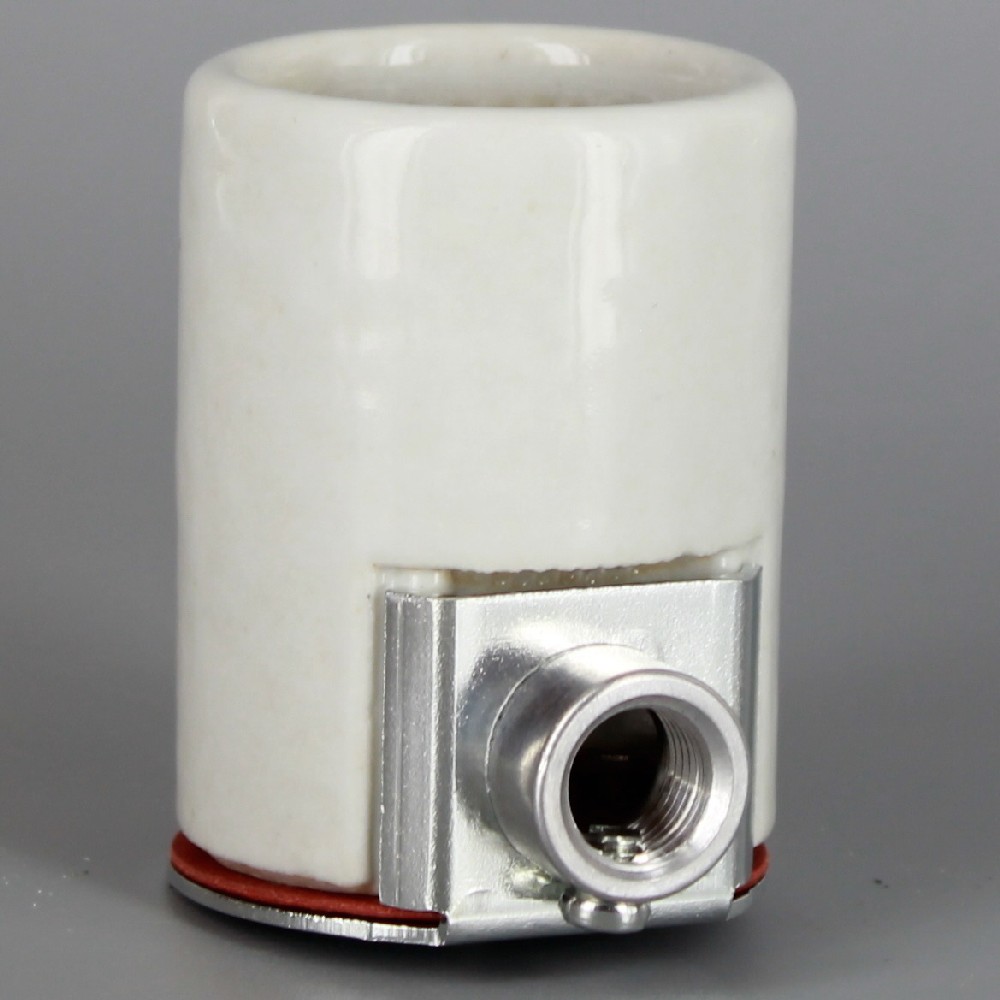
For better assistance with your specific application, please contact Sales@grandbrass.com and one of our lighting experts can assist you however, this is a simple screw terminal socket and should be very easy to wire.

Steps:
Safety First: Ensure the power to the circuit where you are working is turned off at the breaker panel or fuse box. Use a voltage tester to confirm there is no electricity flowing to the socket.
Prepare the Wires: If the wires are not already prepared (stripped of insulation at the ends), use wire cutters/strippers to expose about 1/2 inch (12 mm) of bare wire at each end of the wires you'll be connecting.
Identify Terminals: On the screw terminal socket, identify the terminals. There will typically be two terminals: one for the live/hot wire (usually labeled with an "L" or "+" symbol) and one for the neutral wire (often labeled with an "N" or "-" symbol).
Insert Wires: Insert the stripped end of the live/hot wire into the terminal marked for live/hot. Make sure the bare wire is securely inserted under the screw terminal.
Tighten Screws: Use a screwdriver to tighten the screw terminal securely. Ensure the wire is held firmly in place but avoid over-tightening, which could damage the wire or terminal.
Repeat for Neutral Wire: Insert the stripped end of the neutral wire into the terminal marked for neutral. Again, ensure the bare wire is securely under the screw terminal and tighten the screw.
Double-Check Connections: After securing both wires, double-check that neither wire is loose and that no bare wires are exposed outside the terminal area.
Secure Socket: Depending on the socket design, you may need to secure it to a fixture or electrical box using provided screws or mounting brackets.
Test Installation: Once everything is securely connected and the socket is properly mounted, restore power to the circuit and test the socket using a lamp or other electrical device to ensure it functions correctly.
Safety Checks: Perform final checks to ensure all connections are secure and there are no exposed wires or hazards.
Additional Tips:
Always follow local electrical codes and manufacturer instructions for specific details regarding your socket and wiring requirements.
If you are unsure or uncomfortable with electrical work, consider consulting a qualified electrician for assistance.
 Grand Brass Lamp Parts, LLC

